Or, How to Look Like You’ve Been Blogging for More than 3 Days

You just created a brand new WordPress blog, so now what do you do?
(If you haven’t started a blog yet, but want to know how to do that first, go to my previous tutorial entitled, How to Start a WordPress Blog with Bluehost.)
This tutorial will show you how to:
- Set up your WordPress blogging profile
- Get back to your Dashboard because you got in too deep somewhere and now you’re lost.
- Add a header image because BORING if you don’t.
- Create your very first blog post (and get rid of that “Hello World!” sample post)
How to Set Up Your WordPress Blogging Profile
Login to your WordPress site. If you’re not sure how to get there, try:
www.yourbloggingdomainname.com/wp-admin
where yourbloggingdomainname is the domain name you chose for your site. For example, my login URL is www.stickyreaders.com/wp-admin.
On your Dashboard menu (click “Dashboard” on the left-hand side if you haven’t already), click on Settings, then General.
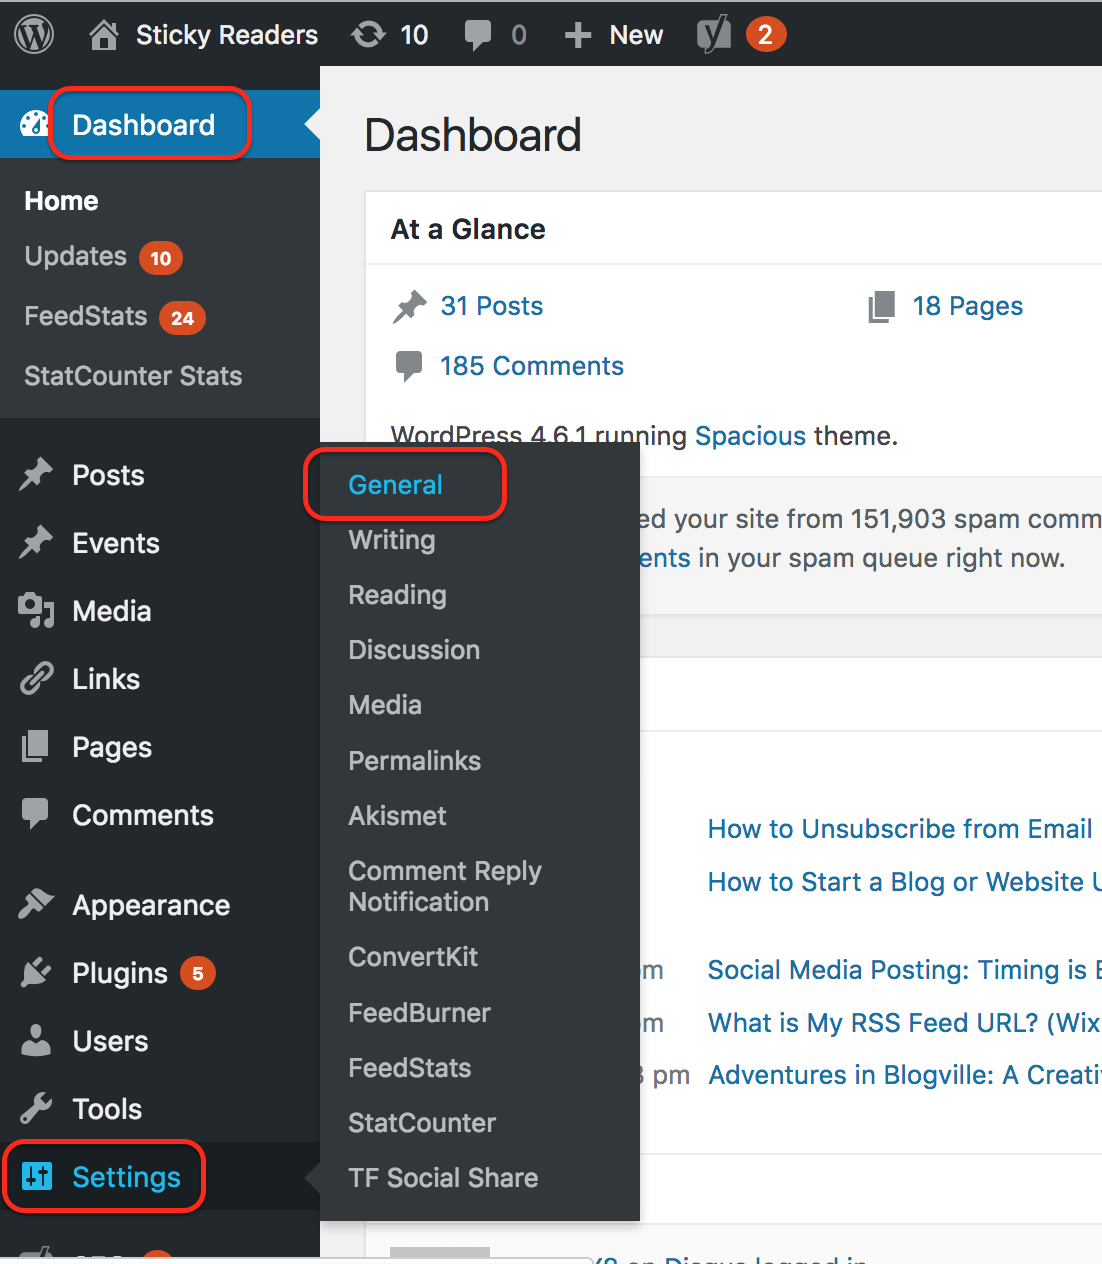
When you click on General, you should get a page like this:

Enter or change your Site Title. Add/change the Tagline if you wish, which will appear after the Site Title on your website. Add or verify your Email Address. Select your timezone. Save your changes by clicking the SAVE button at the bottom of the page.
How to Switch or Toggle between your Blogging Website and Your Dashboard
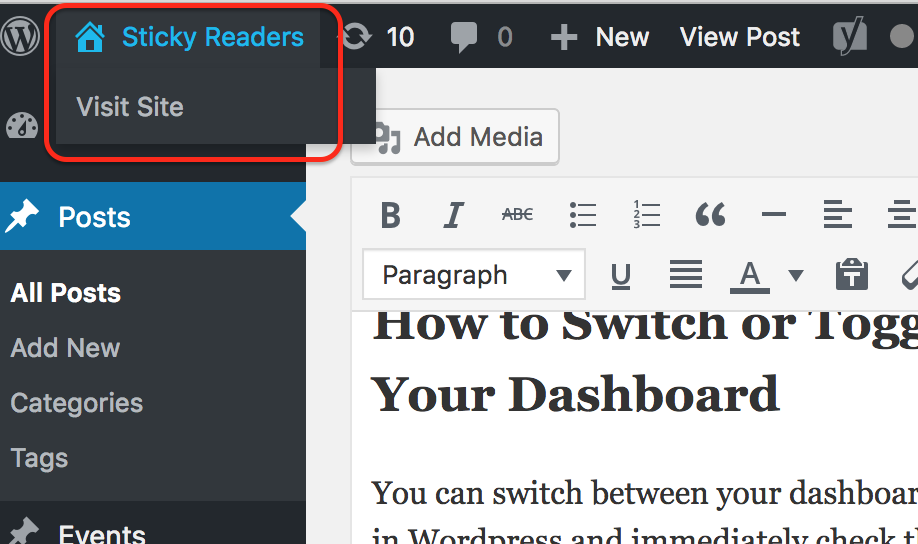
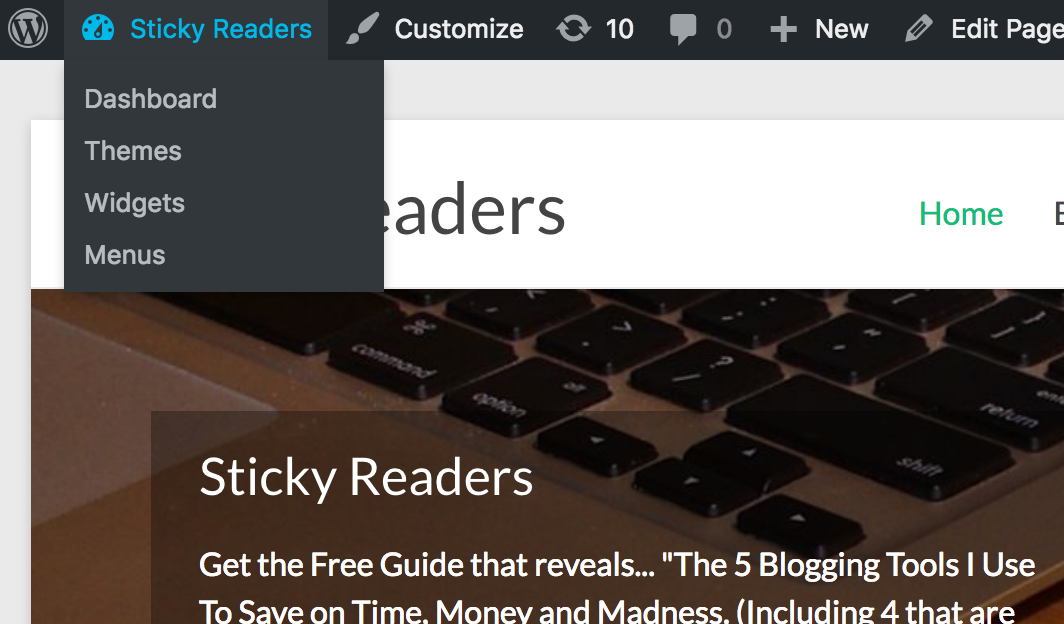
You can switch between your dashboard and your blogging website at any time. This way you can make a change in WordPress and immediately check the changes on your site. To go to your site, click on your blog’s name in the upper left hand corner (or click on “Visit Site) when you hover over the blog name. To go back to your dashboard, hover over your blog name in the upper left-hand corner and click on Dashboard.
Alternatively (and this is what I do), you can open each one in separate tabs. To do this, right-click on “Dashboard” or “Visit Site” and select “Open Link in New Tab”.
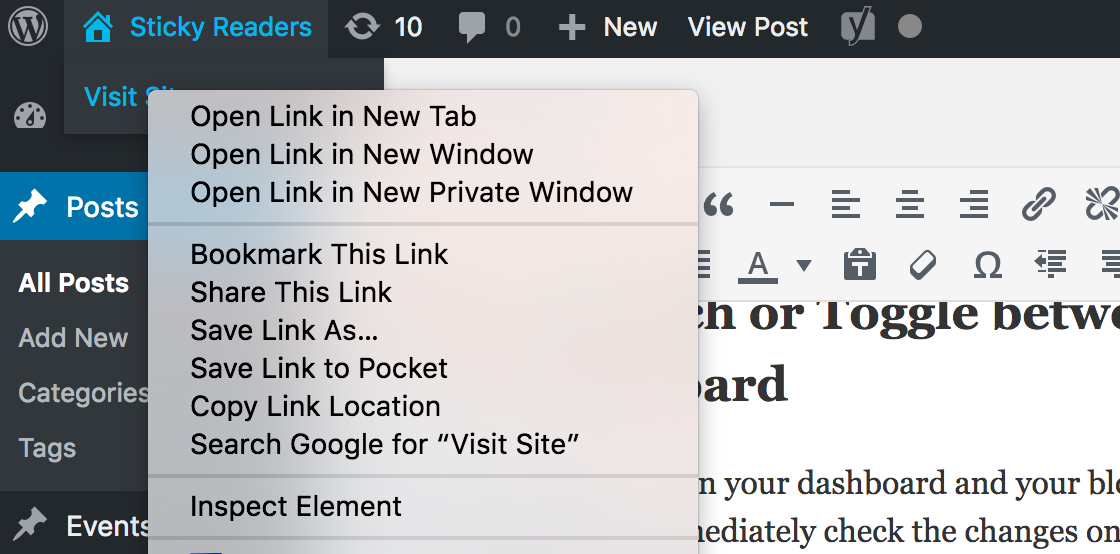
Note: to right-click on a Mac, hold down the control key while clicking on the tracking pad.
Add Your Own Blog Header Image
On your dashboard, hover over Appearance and select Header. (Most WordPress themes will have this option. Let’s hope yours does too!)

Check your blogging theme’s recommended image size. The one I’m looking at right now says 1400 x 400, which means 1400 pixels wide by 400 pixels high.

If you’re not sure what size your theme wants, try uploading an image dimension similar to 1400 x 400 and see what it looks like. You can always re-upload a different size image, (or edit the image in WordPress after uploading) until you get the look you want.
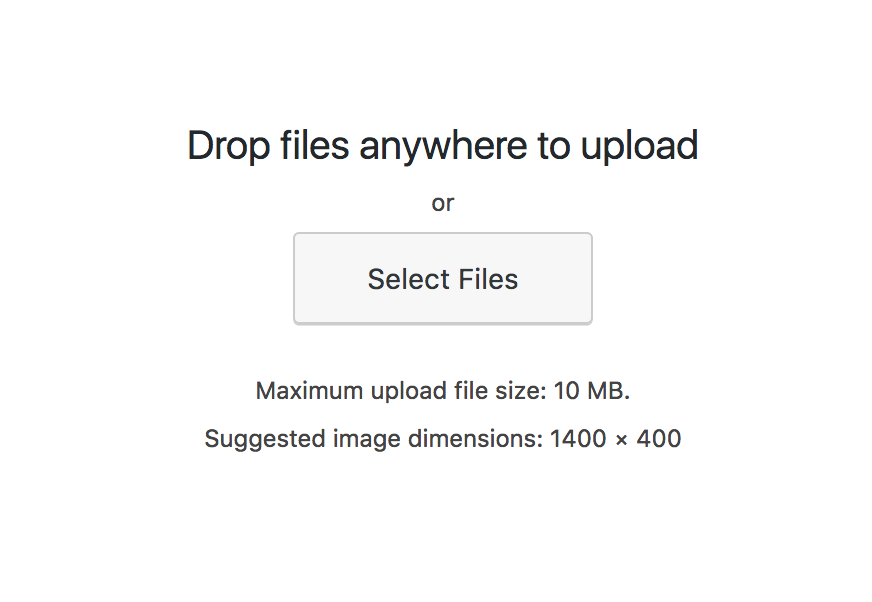
Click on the “Add New Image” button. This will take you to your media library where you can click on the “Upload Files” tab to upload a file, or select a previously uploaded image from your media library.
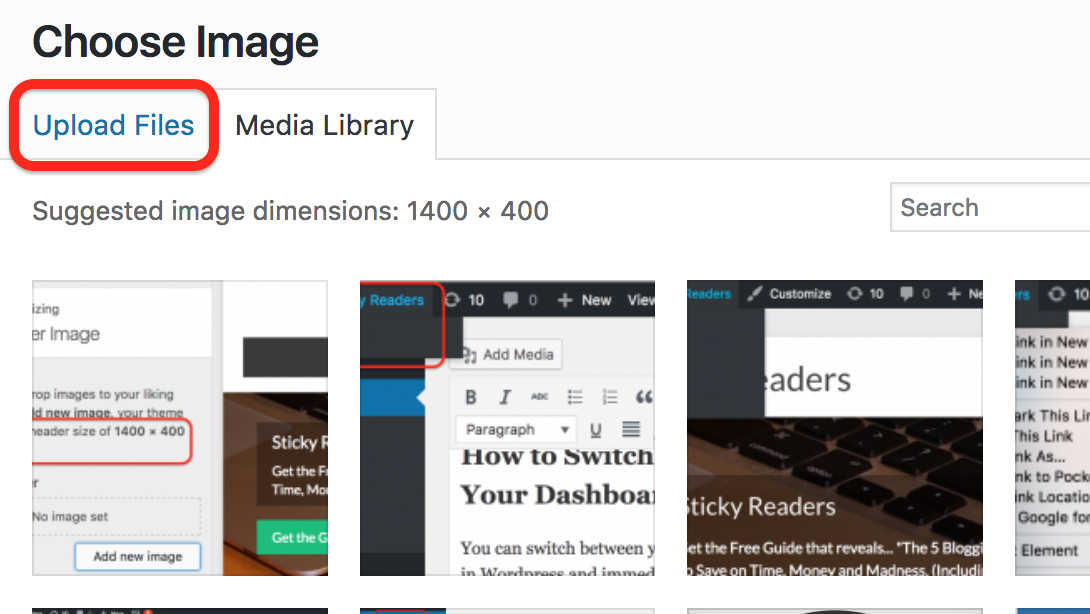
You will then get the following screen to upload your image:
Click the SAVE button and switch to your blogging website to double check the change. If you’re doing the two-tab method like me, you switch to the tab that shows your site and you’ll have to refresh your browser tab to see your new changes. The refresh button is at the right end of the URL bar here:

Now let’s get rid of that sample Hello World post.
Remove Sample Hello World Post and Create Your Own
On your WordPress dashboard, select Posts (in the left-hand sidebar). One sample post called “Hello World!” will appear. If you hover near that title, other options will appear, click on the Trash option to remove it.

Create your very own first post by clicking Add New under “Posts” in the left-hand sidebar.

Enter a title, such as “Money is the Root of All Evil”. Enter your blog post text in the big box below it. At any time if you want to see what it would look like on your blog without publishing it, click the Save Draft Button, then click the Preview button. Get in the habit of clicking on the Save Draft button periodically. Your sanity will thank you for it. When you’re ready for the whole world to see what you have to say, click the Publish button. Ta da! Your first blog post.
Before you go celebrate your newfound blogging life, make sure to bookmark your Admin Dashboard page, so you know where to come the next time you’re inspired to write your second blog post. The URL will be your blog’s domain plus “/wp-admin.” So if your blog’s URL is moneymoneymoney.com, then your WordPress admin Dashboard would be http://moneymoneymoney.com/wp-admin.
Pingback:How to Start a Blog or Website Using Bluehost and Wordpress - Sticky Readers